⚙️ Steps to Authenticate Your WhatsApp Business Account
Click the Authenticate Button
On the dashboard, you’ll see a prompt to authenticate your WhatsApp Business Account.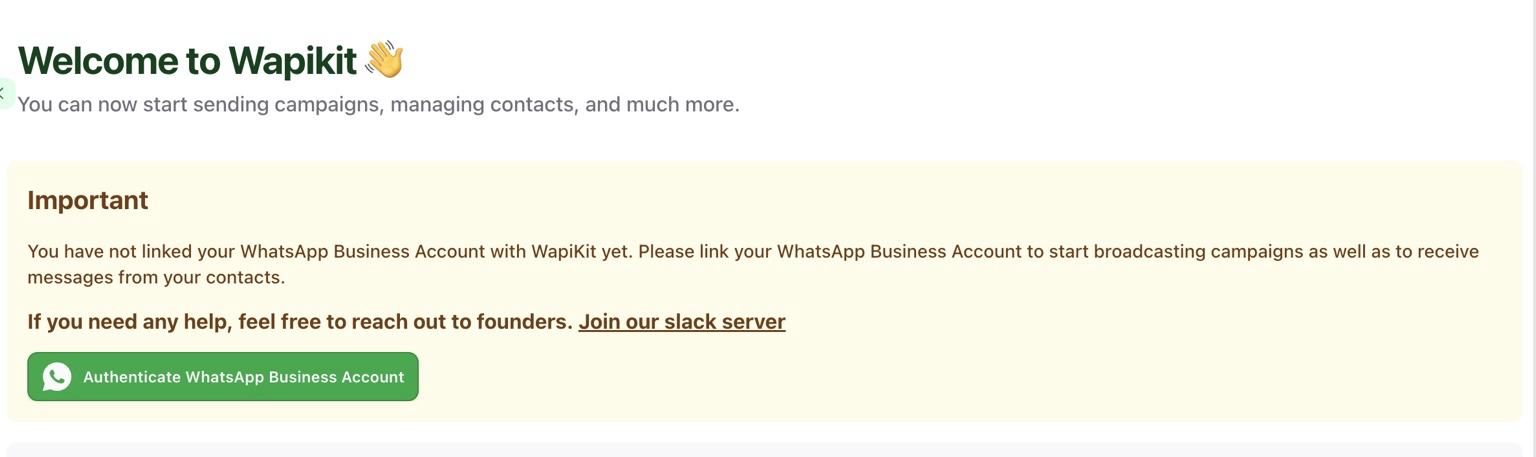
Select or Create a Business Portfolio
A Facebook popup will appear. Select an existing portfolio or create a new one.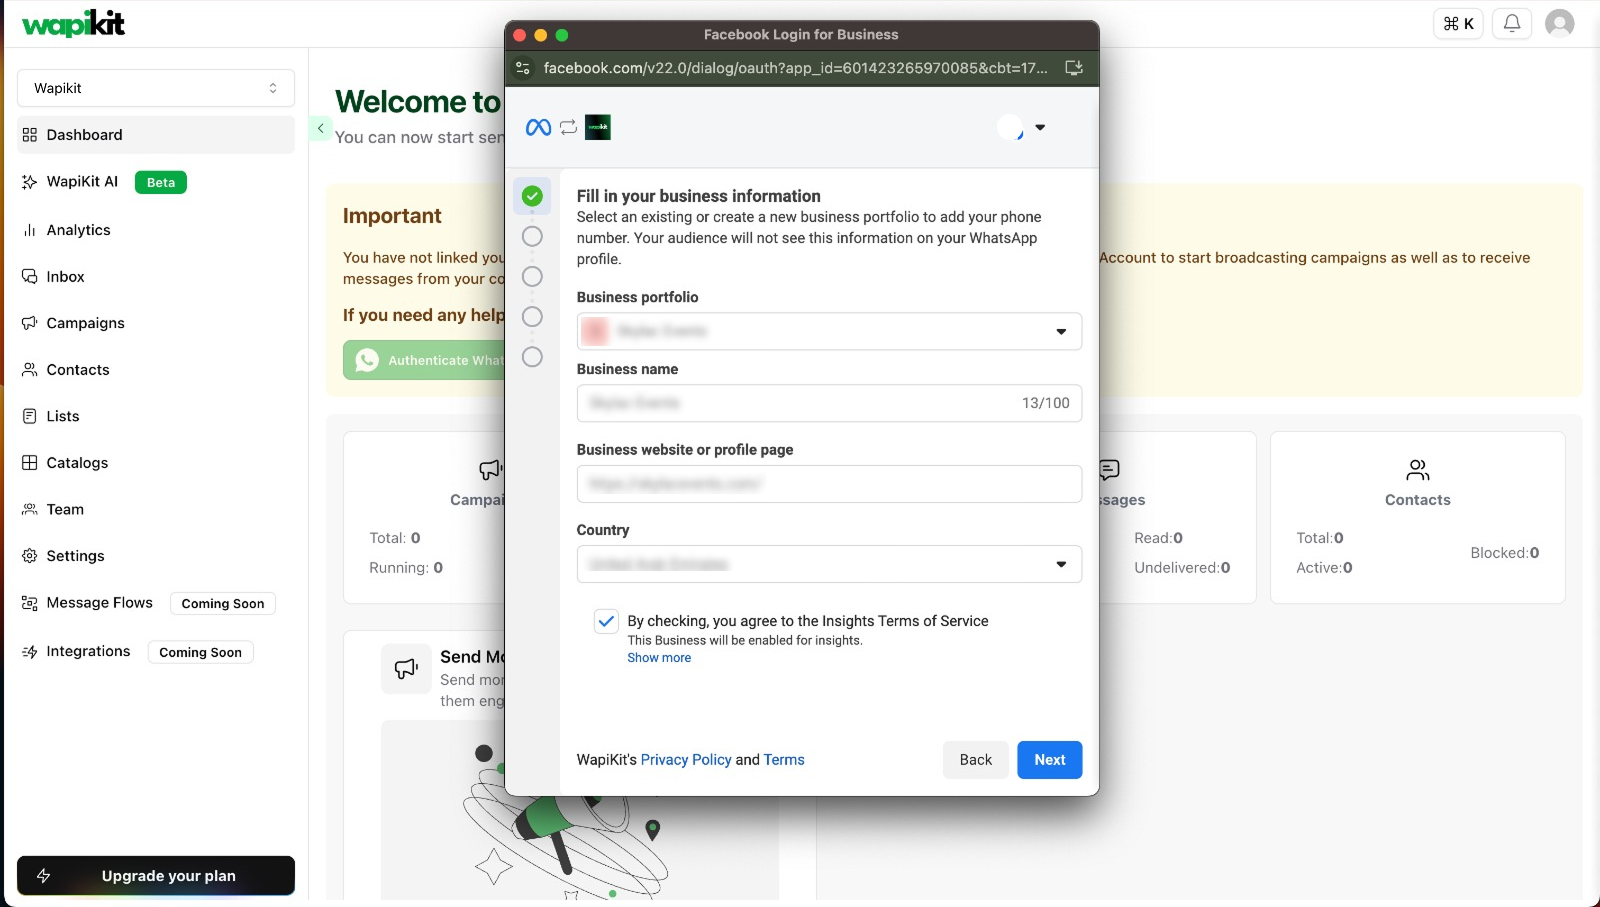
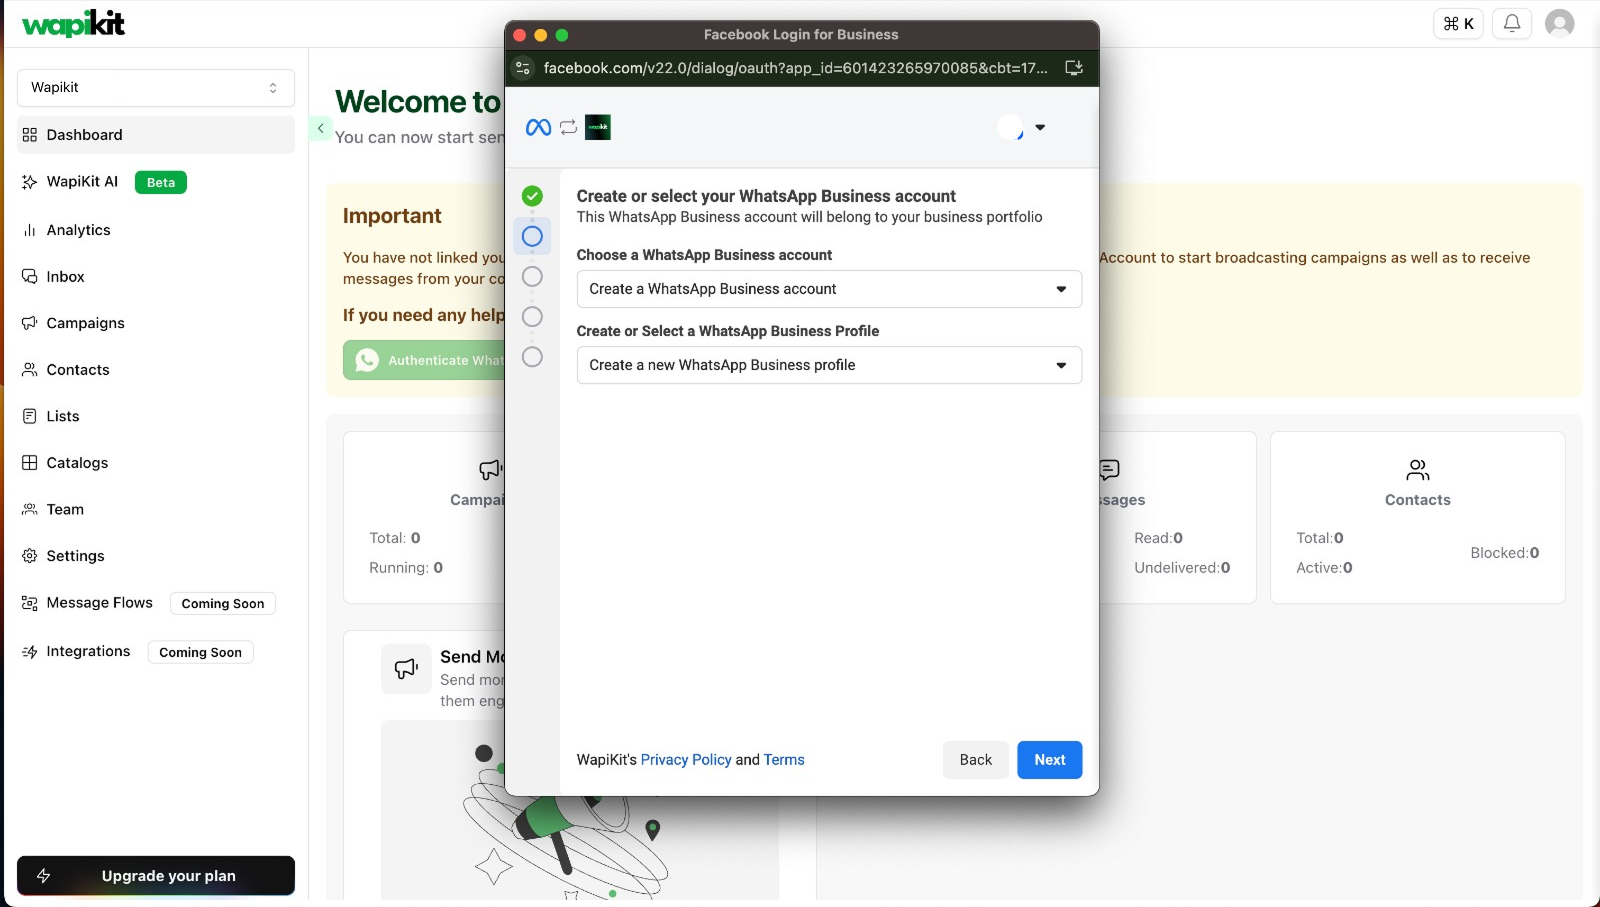
Choose or Create a WhatsApp Business Account
- Select an existing WhatsApp Business account
- Or create a new one along with a new Business Profile
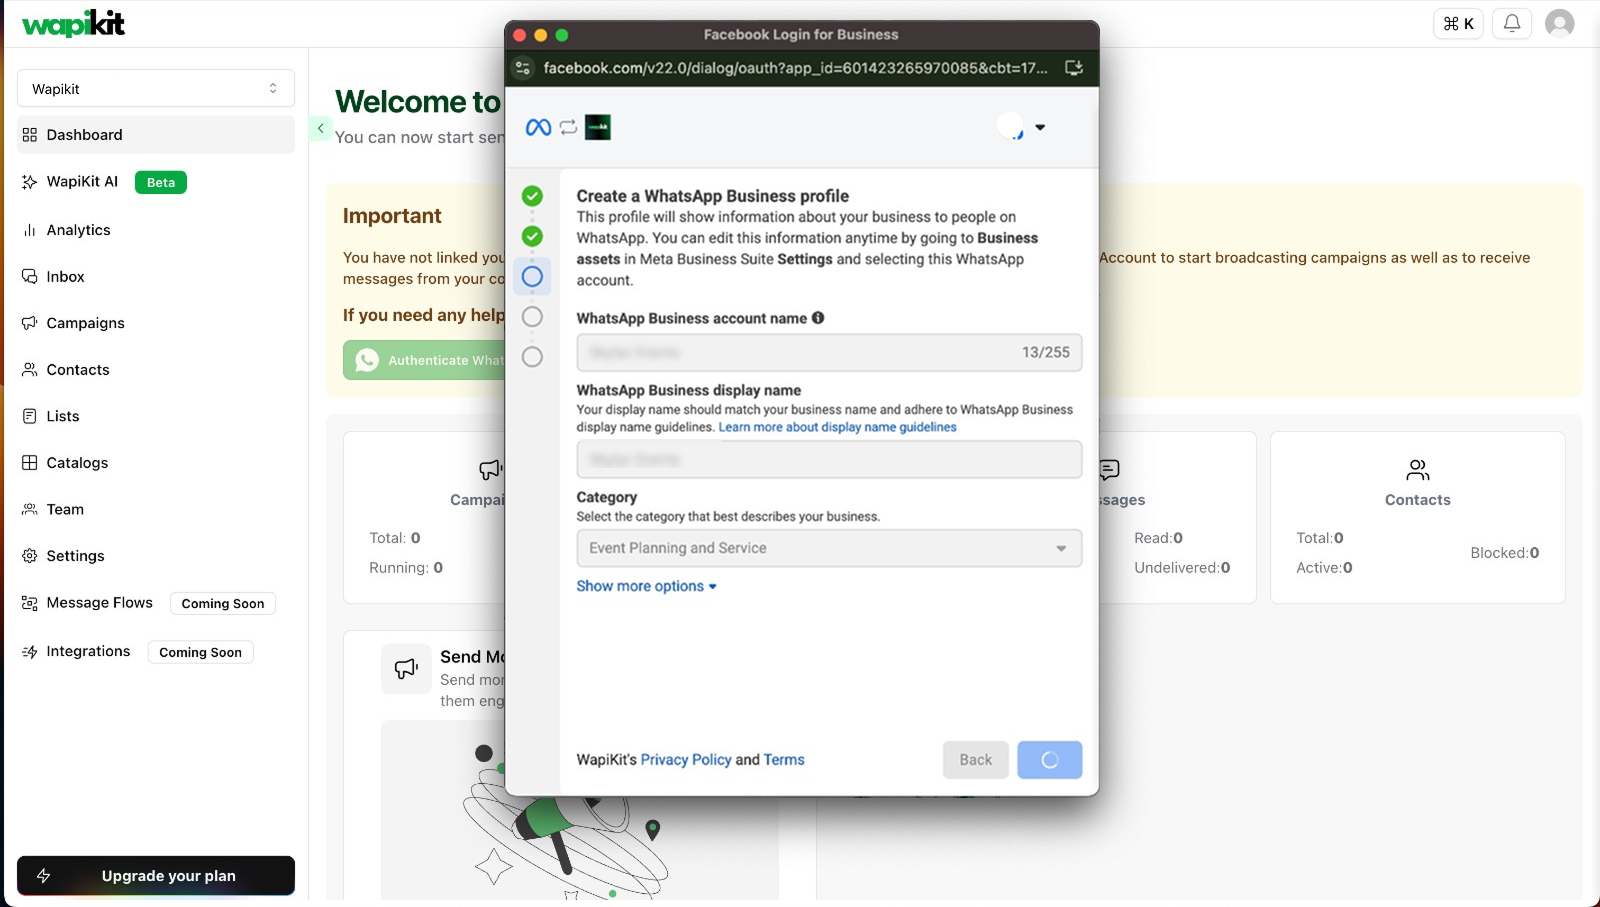
Create a WhatsApp Business Profile
Add your account name, display name, and choose a business category.
Select or Enter Phone Number for WhatsApp
The number must not be in use on any existing WhatsApp app (personal or business). It must be an isolated number to be used only with WhatsApp Cloud API.

Phone Number Verification
If you’re adding a new number, Meta will send a verification code via SMS or call.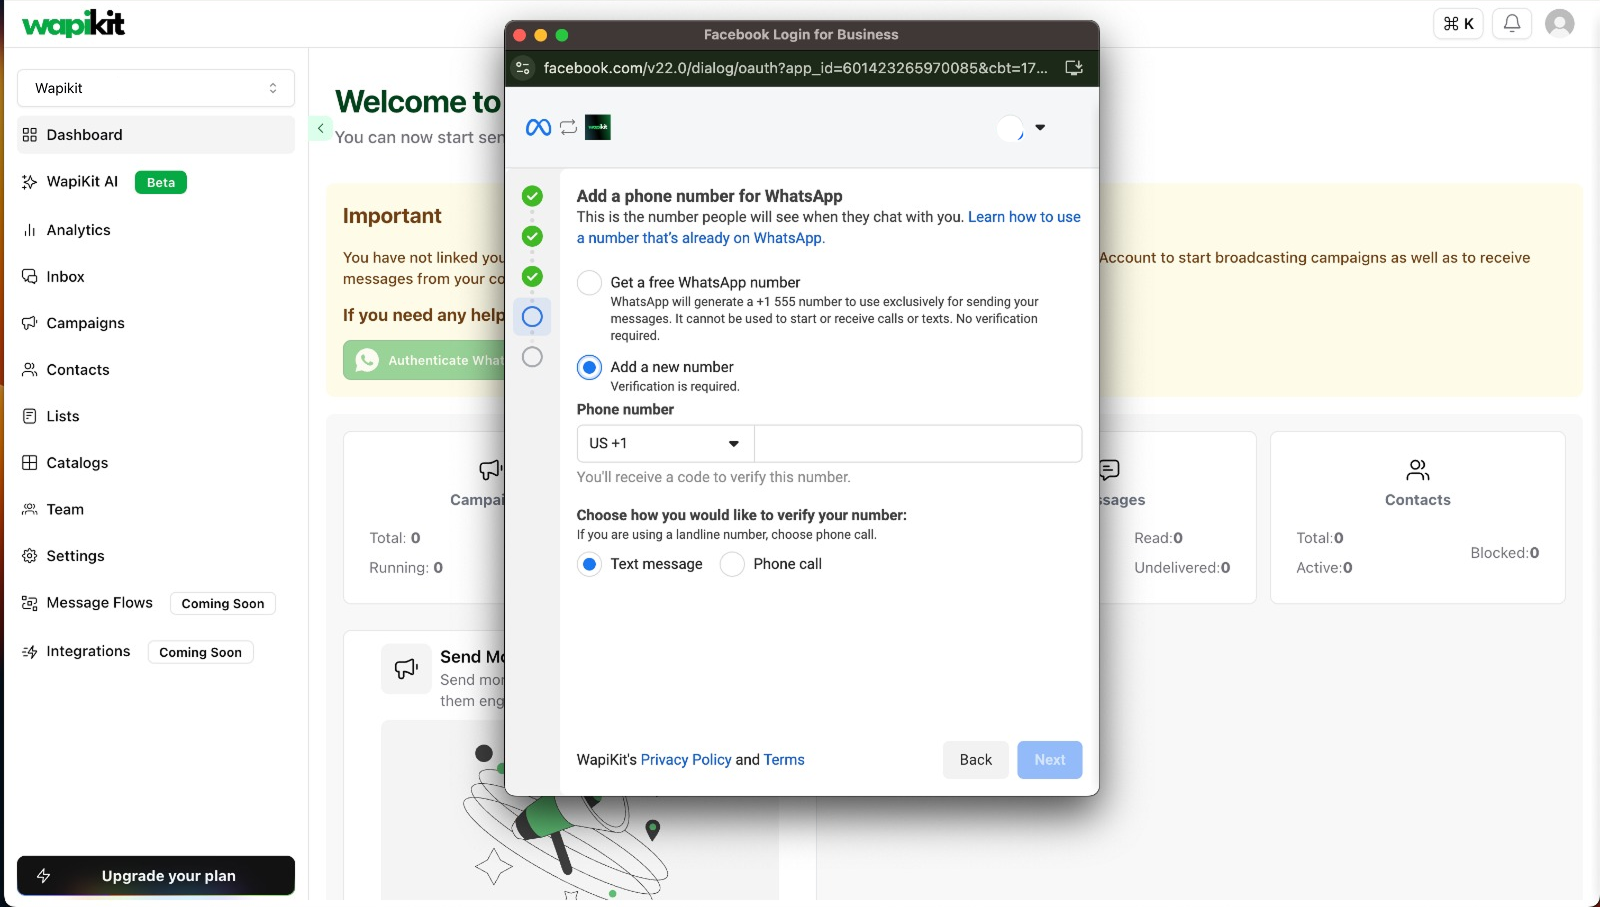
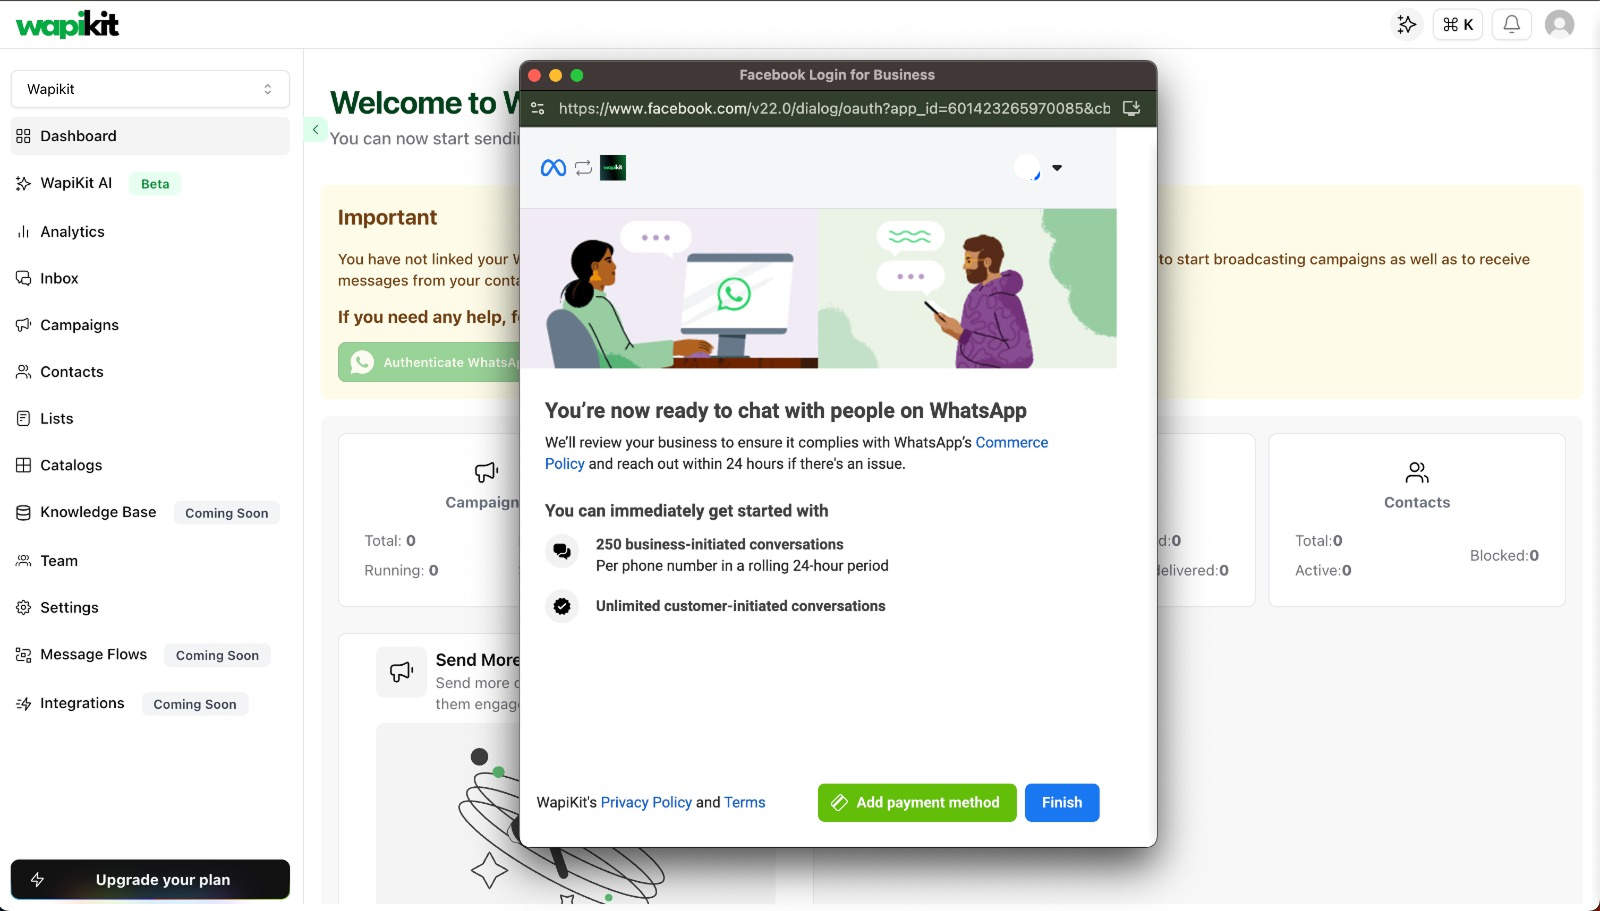
📌 Important Notes
- Meta may take up to 5 business days to approve your WhatsApp Business display name.
- You’ll be notified by email once verified.
- You can still send messages during this review under limited quota.
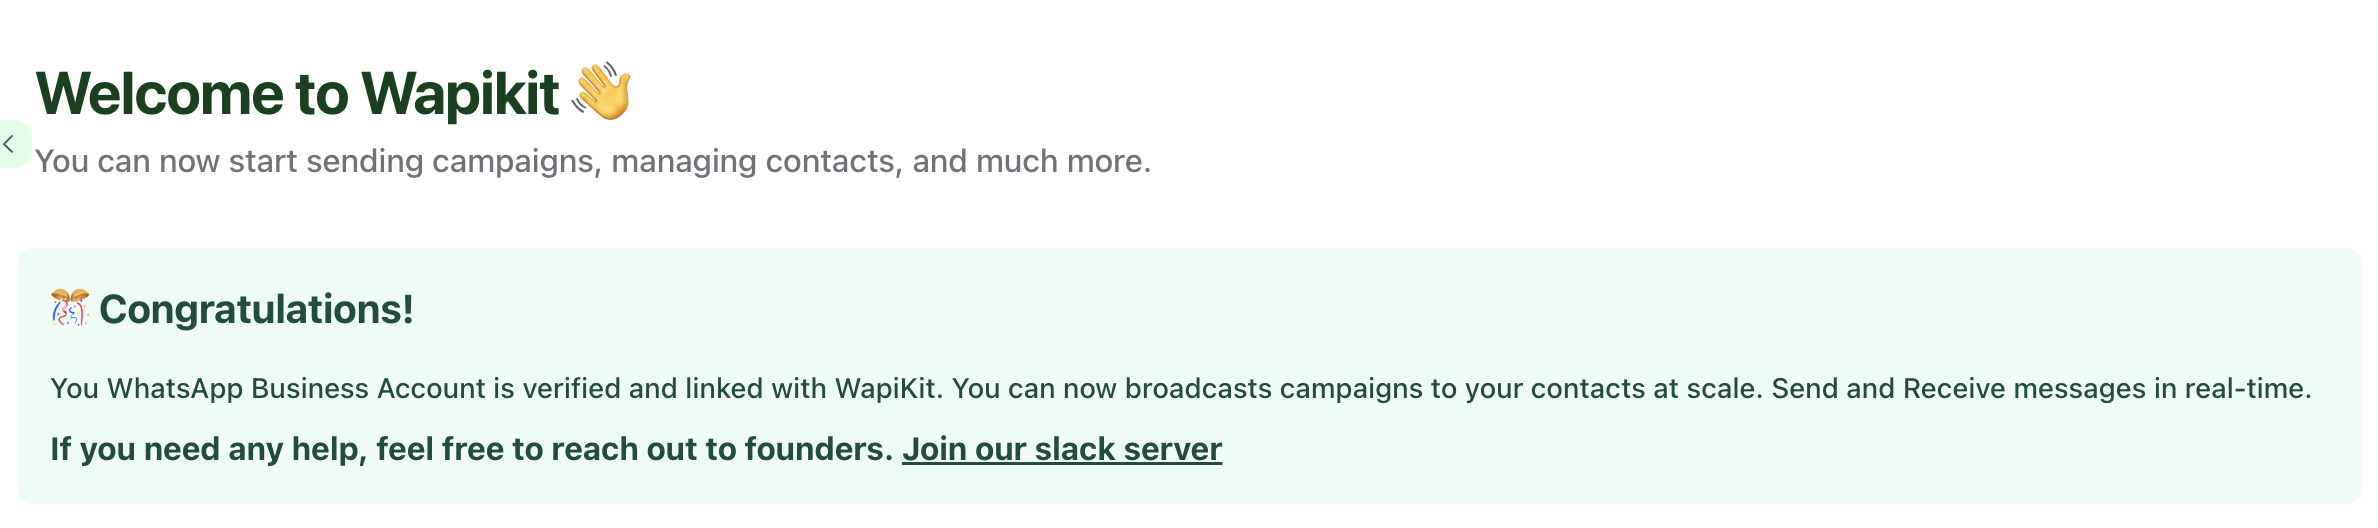
If you face any issues during this flow, feel free to reach out to the Wapikit team or join our Slack community.