You’re just a few steps away from AI-powered customer conversations and automated WhatsApp campaigns. This guide will help you go live—fast.
Sign Up & Onboard
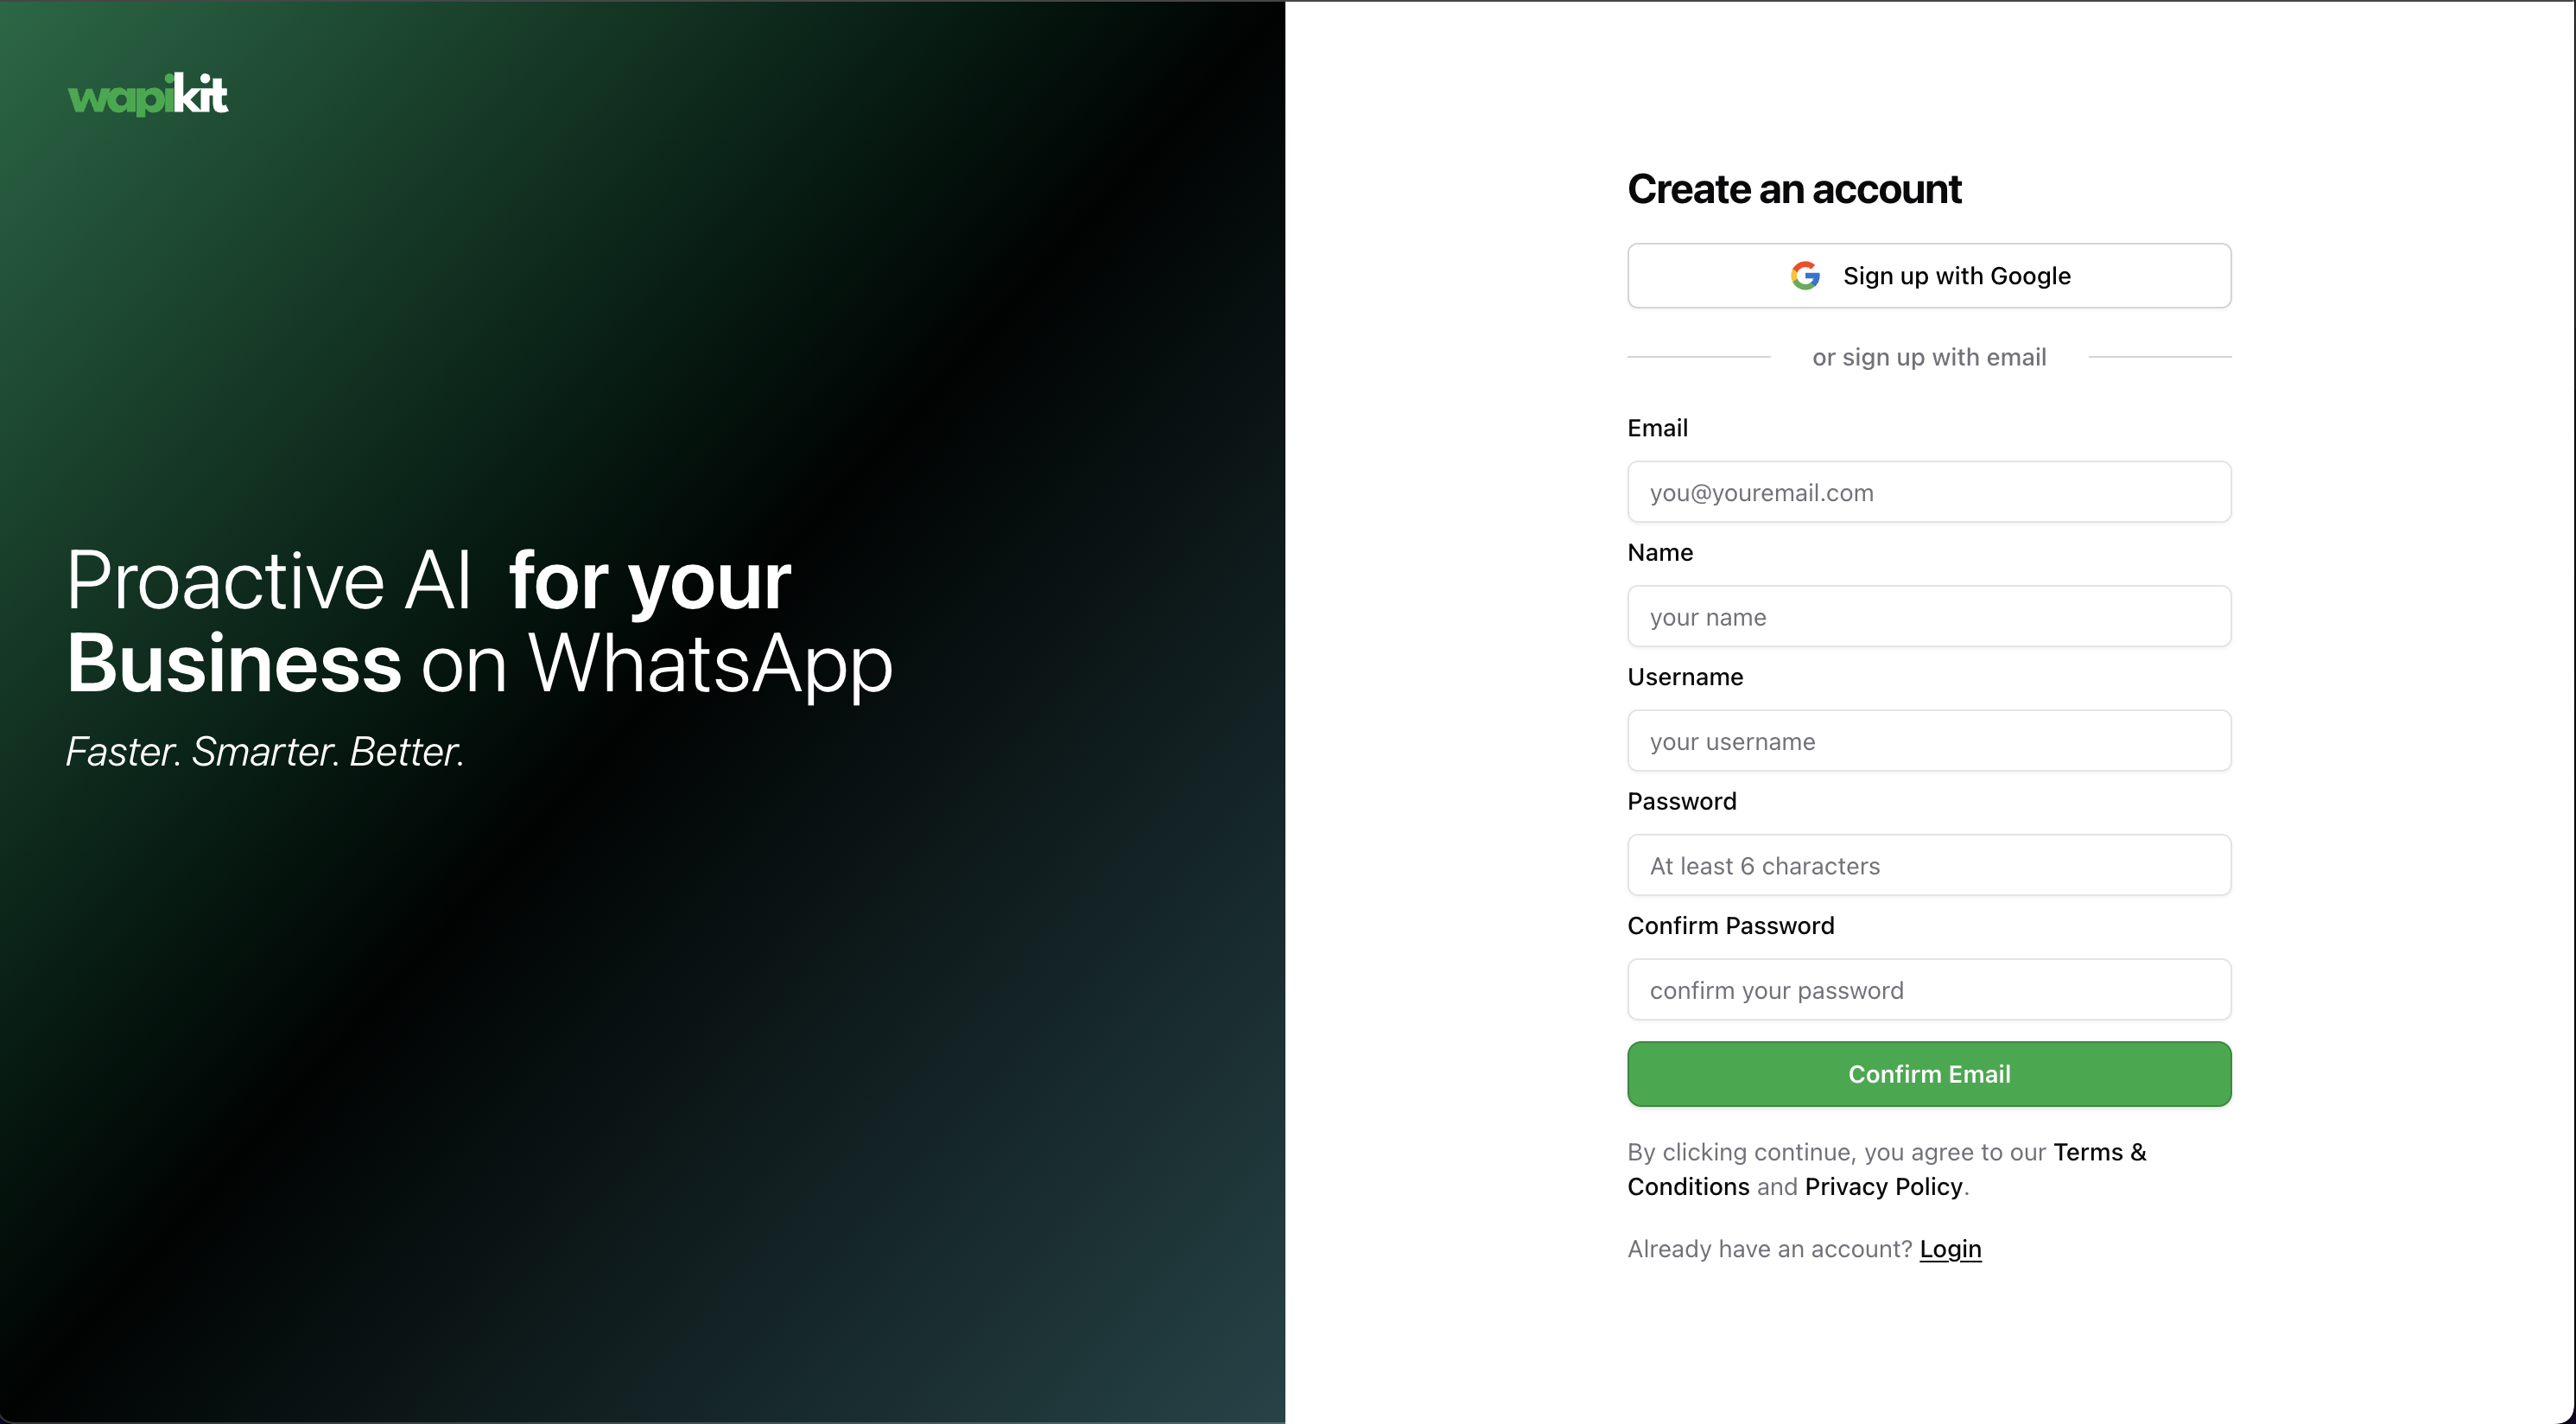
Start by creating your account on Wapikit.

Connect WhatsApp Business
During onboarding—or later from your dashboard—you’ll be prompted to link your WhatsApp Business Account.If you’re stuck, follow our step-by-step WhatsApp Integration Guide.
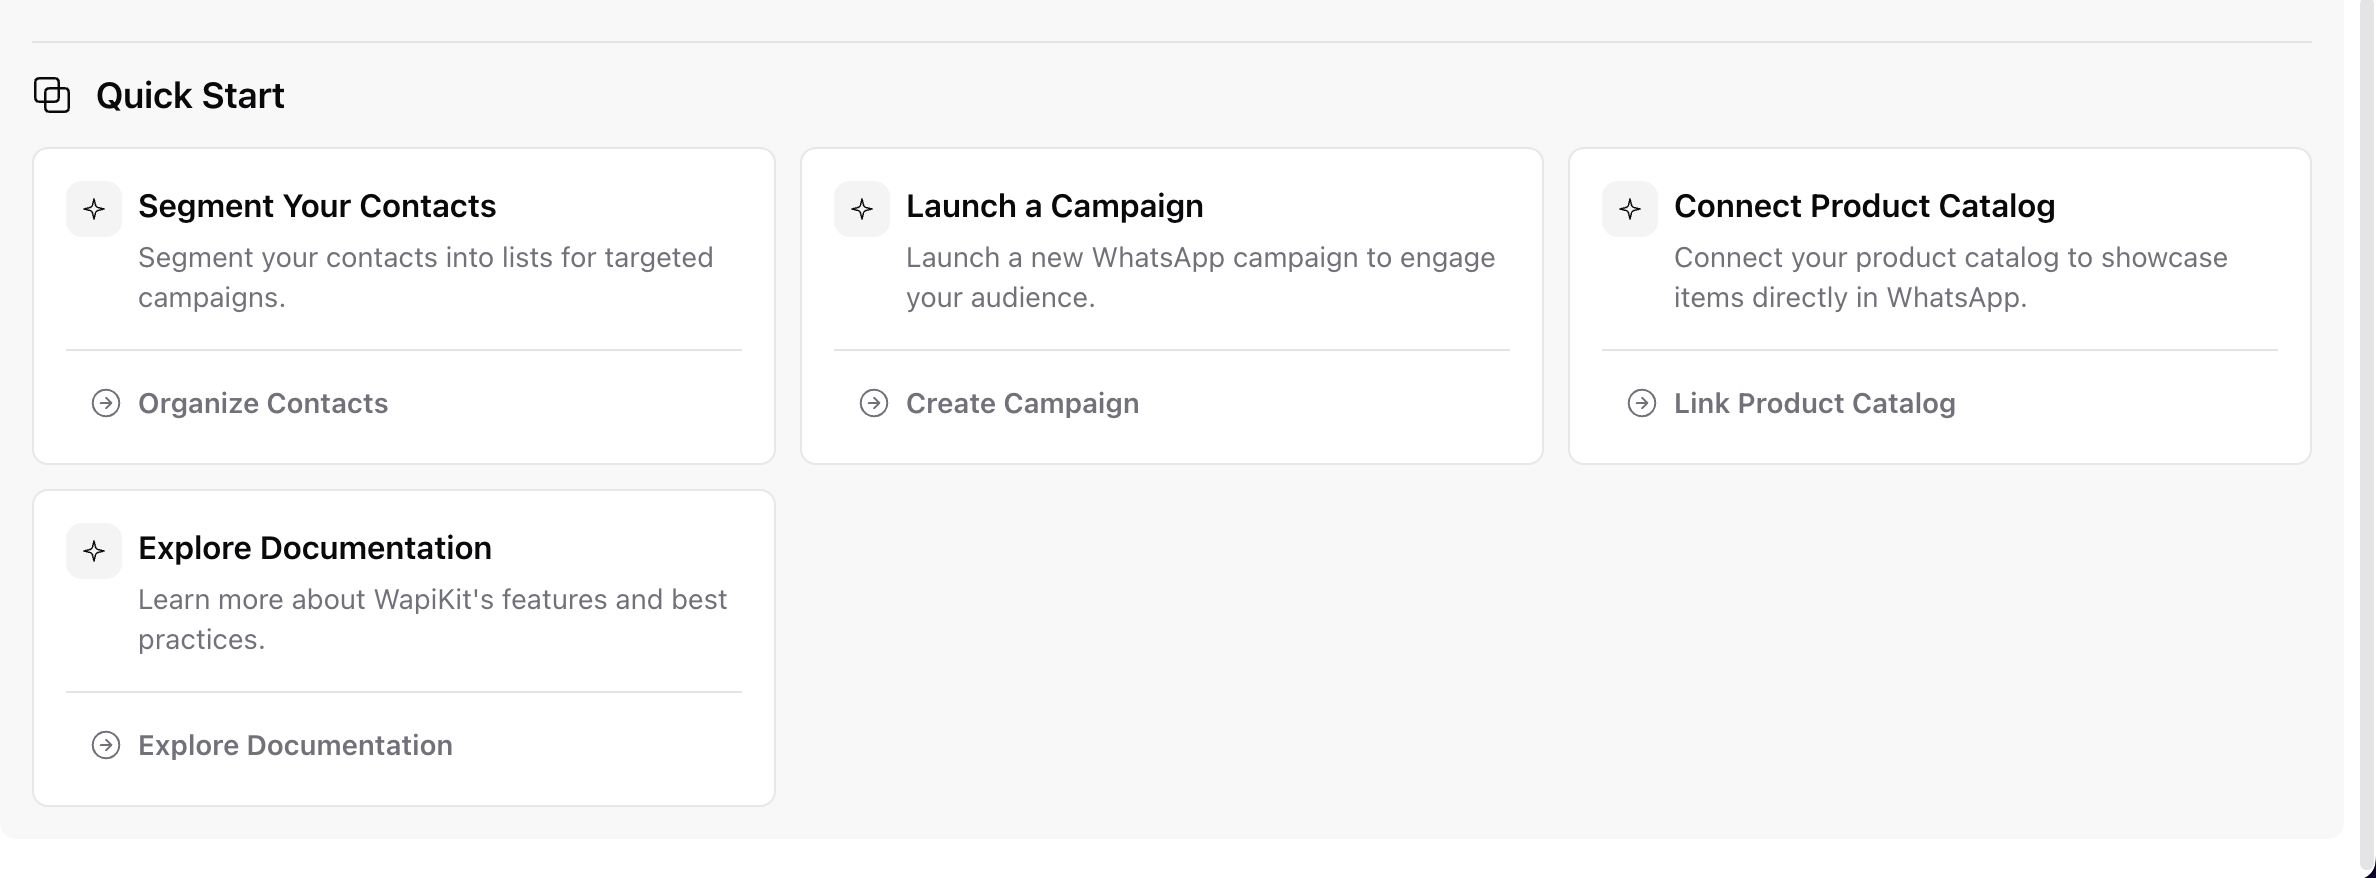
Review the Smart Tips on Dashboard
We recommend reviewing the quick setup tips shown on your Wapikit dashboard.

Power the AI with Knowledge
Head over to the Knowledge Base and add your public website, help docs, or product info.This fuels the Wapikit AI to respond with high accuracy.Read the Knowledge Base Setup Guide for full instructions.
The better your Knowledge Base, the smarter and more helpful your replies.
Explore Your Inbox
Jump into the Inbox to see how Wapikit’s AI responds instantly (under 1 minute) to every customer query.You can jump in manually anytime, assign chats, or let the AI handle it fully.

Import or Add Your Contacts
You can start building your audience by:
- Adding contacts manually
- Importing a CSV
- Syncing from existing sources (coming soon)
Create Your First Campaign
Go to Campaigns → Create Campaign, pick your template, choose a list, personalize the content, and hit launch.See the Campaign Creation Guide to walk through each step.
Invite Your Team & Set Roles
Invite your teammates and assign the right roles using Wapikit’s Role-Based Access Control system.Read the guide: Create & Manage Roles
That’s it!
You’re now ready to:- Let AI handle customer queries
- Send your first WhatsApp campaign
- Scale your operations with fewer resources
If you need help at any point, reach out at [email protected] or join the community.